
Classic Fords
Ford Galaxie 500 Restoration Checklist: Body, Engine, Interior, Paperwork
October 10, 2026
Restoring a Galaxie 500 is less about one heroic weekend and more about a sequence. Get the order wrong and you sand the same panel twice, buy the same weatherstrip twice, or discover that the engine you built for a 390 won't clear a hood you already painted. The cars themselves are forgiving — full-size Fords were built in big numbers, and almost everything unbolts. What isn't forgiving is a project that stalls because the paperwork was never sorted or the parts never arrived.
Here's the order that tends to work, whether you're saving a 1964 hardtop or a 1966 fastback.
Paperwork Comes First, Always
Before you loosen a single bolt, confirm the car is yours to put money into. That means a clean title in the seller's name, a bill of sale with the VIN written out exactly as it appears on the door tag and the title, and a photo of the VIN stamping on the frame or inner fender apron. Ford stamped VINs in more than one place on most full-size cars; find at least two matching stamps before you hand over cash.
Decode the data plate and record everything: body code, paint code, trim code, axle, transmission, and scheduled build date. Photograph every tag and keep the images in a folder you can find in two years. If the car is 1967 or newer, a Ford-specific history report can tell you how it left the factory — worth having if you plan to chase originality, and worth having anyway as a reference when you're hunting parts.
Be honest about what you're building. A correct, numbers-correct restoration and a nice driver are two different budgets, and the paperwork path differs for each.
The Order of Operations
The single most common mistake is doing paint last while doing everything else in the middle of a dirty garage. Strip the car completely, do the metalwork and paint, then assemble. Rust never sleeps under fresh primer.
- Document and photograph every stage before you take anything apart.
- Drain fluids, remove the battery, and label every wire and hose you disconnect.
- Pull the interior, glass, chrome, and trim. Bag and tag hardware by assembly.
- Lift the body off the frame if you're doing a frame-off; otherwise work on the chassis in place.
- Strip the frame, repair rust, and coat it. Replace body mounts — they're cheap and they change how the car drives.
- Do bodywork and paint: jambs, engine bay, trunk, underside, then exterior panels.
- Build and install the drivetrain, then suspension and brakes, then wiring and plumbing.
- Fit glass, weatherstrip, interior, and finally exterior trim and bumpers.
Two rules carry through all of it: photograph before disassembly, and never throw away a part until the replacement is in your hand and fits.
Engine and Drivetrain
Galaxies came with everything from a 240 six to a 427, and the FE family — 352, 390, 406, 427, 428 — is the one most owners end up dealing with. FE parts availability is good, machine shop familiarity varies, so ask around before handing your block to the closest shop.
Decide early whether the engine stays in the car. If it's coming out, do it with the transmission attached and the front clip off if the body is already apart. Rebuild the cooling system at the same time: radiator, water pump, thermostat, hoses. Old full-size Fords run hot when anything in that chain is marginal.
Transmissions are usually straightforward — the two- and three-speed automatics and the Toploader four-speeds are all rebuildable with available parts. While the drivetrain is out, replace the rear main seal, U-joints, and every rubber mount. Doing it later means doing the job twice.
The "while I'm in there" trap
Rebuilding the front suspension while the engine is out is smart. Rebuilding the entire car because the engine is out is how projects die. Keep a written list of deferred items and stick to it.
Sourcing Parts Without Losing a Year
Sheetmetal coverage varies a lot by year. Common 1965–1968 panels and patch sections are reproduced; earlier and later years are thinner on the ground, and trim pieces are often used-only. Plan accordingly.
- Specialty suppliers that focus on full-size Fords — good for interior kits, weatherstrip, emblems, and rubber.
- Swap meets and club events — the best source for trim, brackets, and hard-to-find castings.
- Parts cars — one rusty four-door can supply a decade of small hardware.
- Owner forums and Facebook groups — invaluable for "does this actually fit?" before you order.
- Local machine shops and rebuilders — brakes, steering boxes, alternators, and starters.
Buy the best weatherstrip and interior kit you can afford. Cheap rubber fits badly, leaks, and you'll replace it once the car is assembled — the most expensive way to save money.
Paint, Body, and Final Assembly
Bodywork on these cars is mostly flat panels and honest gaps, which is a gift. Fix rust properly: cut out the bad metal, weld in new, treat the backside. Primer over pinholes is a two-year repair.
On color, decide between a period-correct single-stage finish and a modern base/clear. Single-stage looks right on a sixties car and is easy to touch up; base/clear lasts better in sun. Both work — just paint the jambs, engine bay, and trunk first, and hang the doors, hood, and trunk lid for final alignment before the exterior coat.
Then assemble in reverse order of disassembly, with new body shims, new hardware where it matters, and a torque wrench.
Interior and Trim
Interior work is where a decent car becomes a car you want to drive. Do it last, after paint and glass, and do it in a clean space. Replace seat foam with the covers — new upholstery over collapsed foam looks like new upholstery over collapsed foam. Rebuild the gauge cluster, test every bulb, and check the heater box and blower before the dash goes back in.
Save headliner installation for someone who has done one; bows and clips are unforgiving. Keep original fasteners where you can, and photograph the trim sequence as it goes on.
Budget, Timeline, and Knowing When to Stop
Costs vary enormously with condition, engine, and how much you farm out, so build your own number from quoted labor and parts lists rather than from what someone online claims. Add a healthy contingency — rust discovered after paint is the classic budget killer. For anything involving titles, registration, or insurance on a modified car, check with your state motor vehicle agency and your insurer before you commit.
Set a finish line and defend it. A car that runs, stops, and drives is worth more than a perfect shell in a garage. Get it on the road, then improve it in winters.
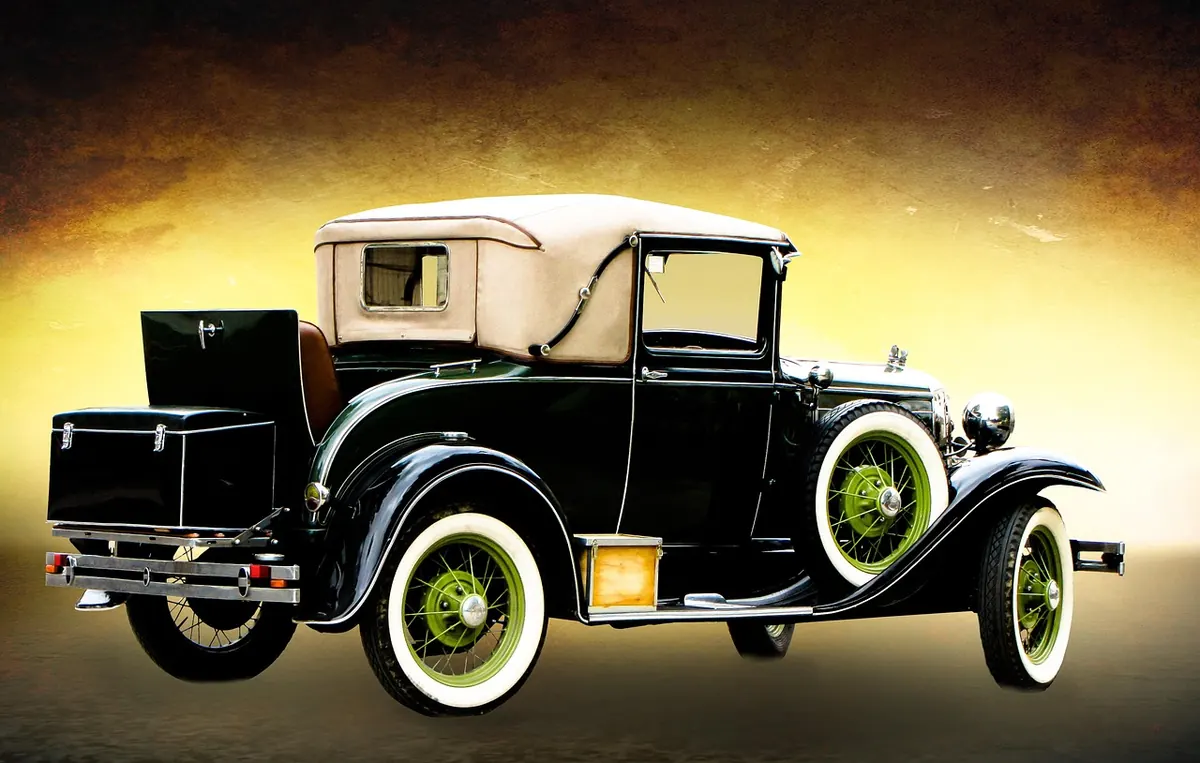
Photo: garten-gg / Pixabay
Related posts
More stories you’ll love reading